Showing posts with label DIY. Show all posts

Thursday, March 19, 2015

room by room : kitchen updated


The kitchen is my domain.  If you want a refresher on what it used to look like you can go here.  I always say I feel like my entire house is so much cleaner if I can keep the kitchen clean.  For almost a year I have known that I wanted to paint this room green, and went out and rounded up every green paint sample in town.  But I just couldn't decide.  To make it a little more difficult, I had already bought the fabric that I would eventually turn into a window topper above the sink, and it was its own type of green.  


I eventually gave up since I had other rooms to work on, but I just was so unhappy with the beige in that room.  So when we decided we would be having a Staycation last month, I revisited the paint samples.  And from left field, Kyle made the decision.  We went way out of my comfort zone and picked a mossy/olivey/much darker green than I ever anticipated.  It is called "Everglade" by Behr in their Marquise collection.


Other than the paint, we replaced the knobs on all of the cabinets, opting for a larger oil rubbed bronze knob than what started out on them.  The coffee bar is a little less cluttered since I removed the espresso machine and we had to replace our regular coffee maker this past weekend.   Oh and the crown molding!  Part of my Christmas present from dad was that lovely addition to the top of all of the cabinets.  Kyle also requested that I move the prep area to the long counter instead of beside the stove, and I have to say it was a great idea!


Looking forward, my dad is planning on removing two of the top drawers to turn them into 1 large utensil drawer.  The large cabinets next to the microwave may get an extra shelf for better use of the space.  Hopefully within the next year I will be able to show off these improvements.  I would also love to replace the faucet with something a little nicer, if not the entire sink.  It is amazing what just a little bit of paint does once again.  What projects have you done lately?


Monday, January 26, 2015

crafting : bibs


Sew I have this new hobby...

Well, not that new.  I challenged myself this summer to learn how to sew.  I was inspired by a bib I purchased at a little local store here... In order to make myself learn, I challenged myself to make as many as I could before a collaborative yard sale so I could try to sell some... 


I ended up making about 12 or so... and sold a grand total of 0.  The day of the yard sale, it was a yucky post-rain mess, and we didn't really advertise that there would be kids stuff there because we weren't sure who all would bring how much.  Oh well, I have had several friends have kids this past year.  

Sew inside out first with a decent margin, leaving a gap to later flip it correctly.  Cut triangles out of the curved areas and slits in the neck area so that the bulky felt can lay flat once you flip it.  Then sew a close edge to complete it.  Add a button hole and hand sew your button.

So this is my new go-to baby present.  Because like I have said before, in those early months, you just can't have enough bibs.

This week alone we have a boy almost ready to be born into our small group, and a girl coming in March to another resident couple.  The wolves were left over from my last sewing extravaganza, the other 3 I used up parts of about 3 morning naps to complete.  So much fun to be able to give these to friends!

Generally, I use felt as a structural/sort of liquid barrier from the front.  And the front is whatever cotton print I find in the fat-quarters or clearance section of various craft departments.  I try to stick to colorful prints that won't show baby food stains so terribly.  And I always prewash before I craft so that they don't shrink up after I hand them out.


As for the button closure, that was the cheapest option I could figure out without having to buy any special hardware.  I originally wanted to do magnets but those are ridiculously expensive.  And I could not be happier with how the button functions and looks.  It is super easy for parents to fasten, but secure enough that baby can't just rip it off.

Myles never complained about his...  Unfortunately he almost completely stopped wearing 
bibs right after I learned how to make them!  But he was a pretty good model for me anyway.

I love just having this to do on occasion to take care of my DIY cravings in these long days of residency.  It is a little hard to find enough time to do anything bigger like build furniture or paint a room.  Getting to do this to love on our friends is a major bonus, and making myself learn how to sew is so so so fantastic.  I have since managed to make my own pillow sham for the couch, a small curtain for the kitchen window, and a crib rail protector when Myles started chewing the crap out of his.  What have you been crafting lately?

I'm linking up at this crafting Blog Party!

Monday, November 17, 2014

myles oliver : a birthday party


I had been a bit of a fuddy duddy earlier about whether or not to have a party for Myles since his birthday falls in the middle of Kyle's away rotation.  Since we didn't find out Kyle's schedule until he was already in Charleston, we capitalized on what we did know and planned Myles' birthday party 2 weeks early.  Kyle had to leave on the 2nd, so we celebrated on the 1st!  Issue:  this was the beginning of when everyone started getting sick so through a series of unfortunate events, 2 of the 4 families we invited weren't able to make it.  No worries.  We didn't let it slow us down!


I kept things as simple as I could without feeling like I was sacrificing on the cute first birthday for our first kid factor.  I had planned for quite some time to bake a blueberry pie for Myles since blueberries are his favorite, it is eggless, and well, you will understand once you see the pictures.  To all those haters that thought pie was the worst thing you could do to a kid on their birthday (how dare I not give my kid cake!) get over it.  Pie was a major hit!  I also grabbed an apple pie from Trader Joes in case people weren't blueberry fans.  Food wise, I just grabbed some roasted red pepper hummus with pita from TJ's and made some sausage balls right before the guests arrived.


We went with a light dinosaur theme.  I snagged that cute reusable chalkboard banner and used my dinosaur cookie cutters as stencils for the images, and dinosaur plates and napkins from Target.  A few colorful streamers and some little plastic dinosaurs from the Target dollar spot finished us off.  I also printed the monthbymonth photos from here on the blog and displayed them with a few other gems.


Adults and kids alike tore into that blueberry pie after Myles took care of the first slice.  It really was phenomenal and Pillsbury made the crust much easier to deal with.


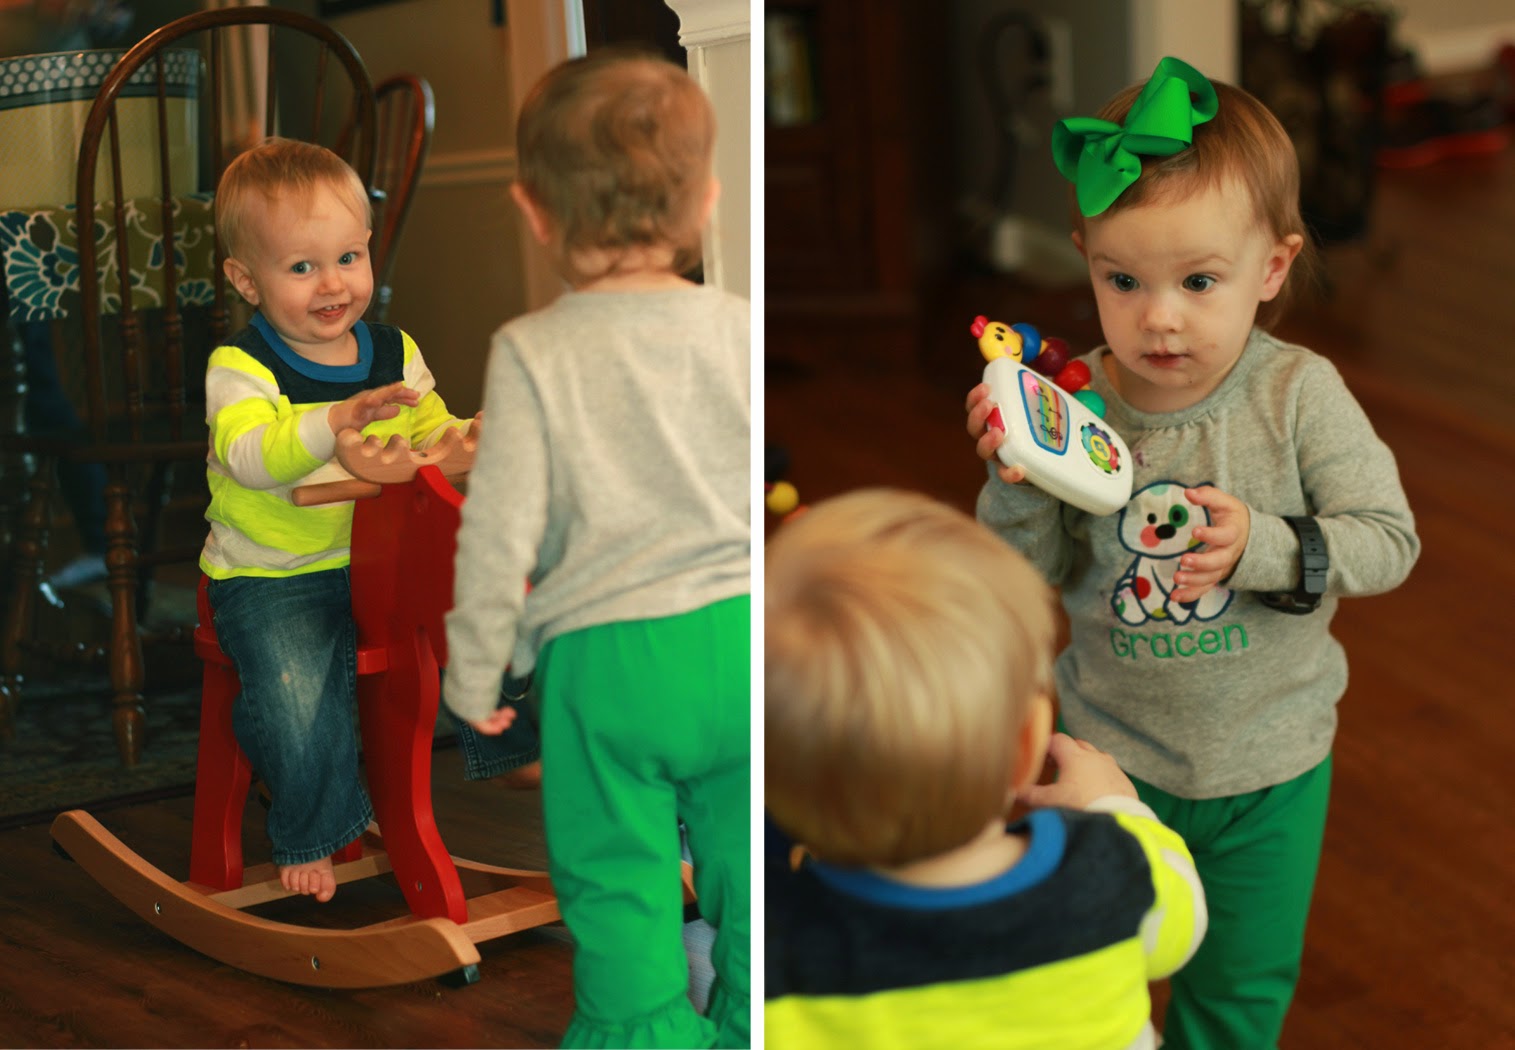
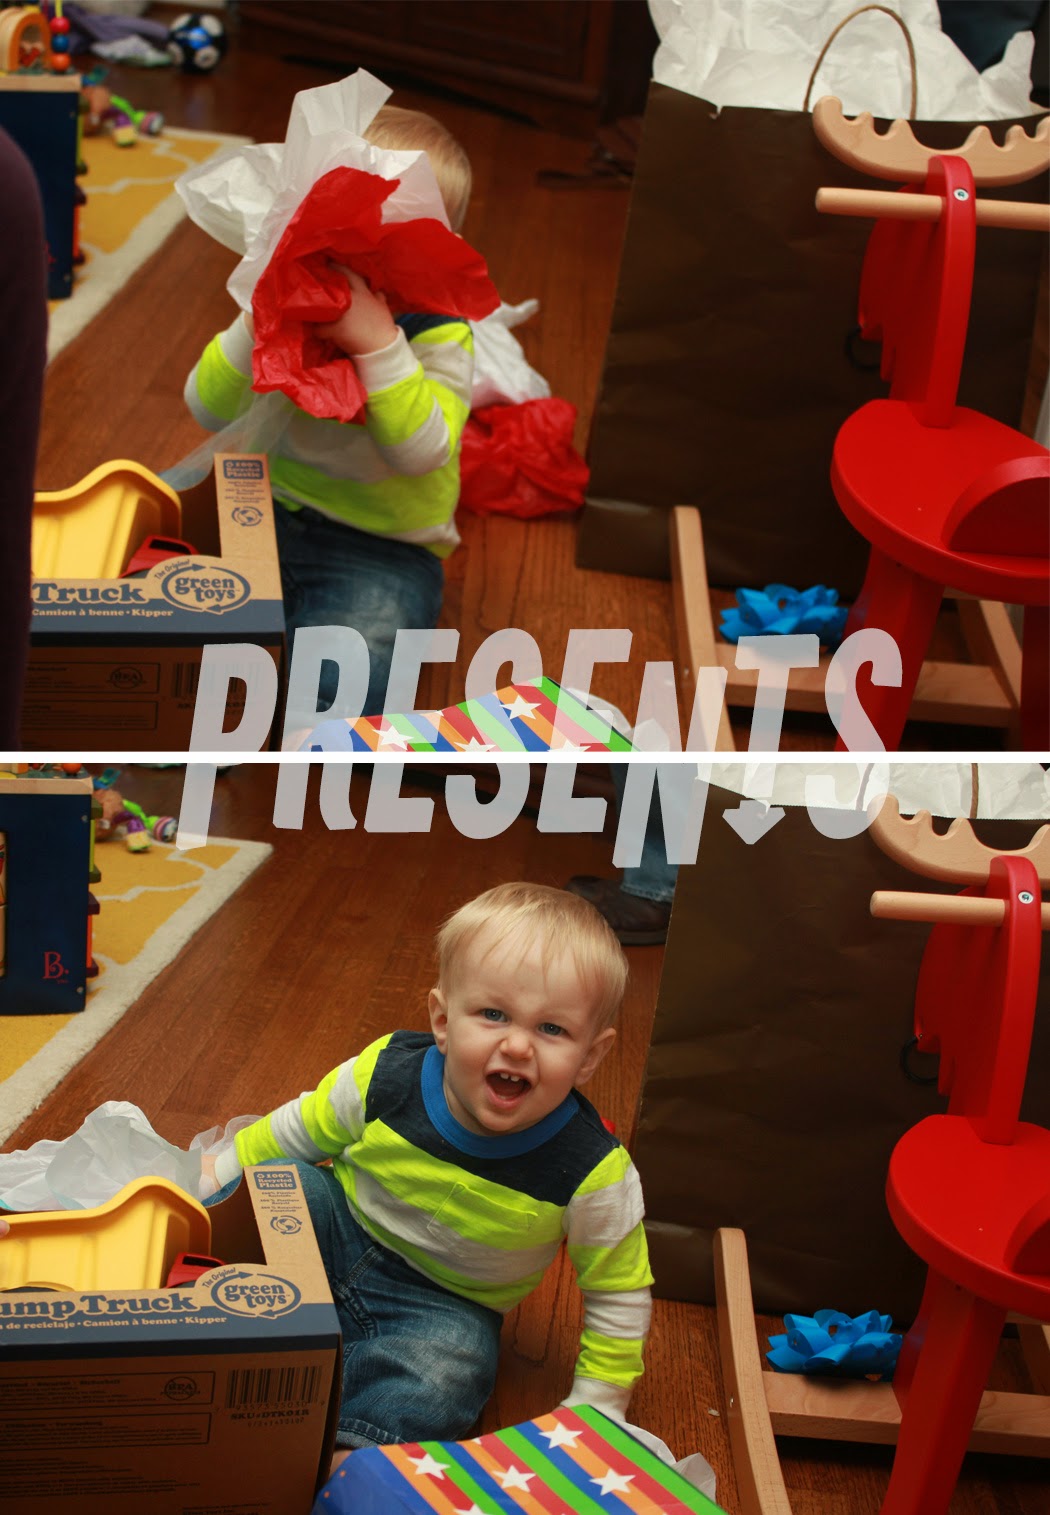
The kids all took turns on Myles' present from us, his little red rocking moose from Ikea.  


The party was just what we needed.  A few friends to celebrate our kiddo.  Some good food and conversation.   Just enough to say we actually did it and had fun in the process.  I know Myles had a blast.


Tuesday, September 30, 2014

room by room : living updated

If you have forgotten what it used to look like or are new to my page you can see it here.  The original post was with absolutely nothing changed to the room.  Just us moving in with our furniture and me taking some pretty terrible photos of the room.  

I have wanted to share the living room for so long.  I almost did this post a couple of weeks ago and then decided to wait until I gave Kyle's birthday present to him so it could be in here.  I have put a lot of time and resources into this room since we spend all of our awake time in it.  It probably has had the most done to it compared to the rest of the house... and I am pretty happy with it, despite a few things I would have done different now that it is mostly finished.

Large throw pillows from TJ Maxx or Marshalls.   I made the small one. 

Shortly after we moved in, Kyle's parents helped me paint the walls in this room.  I love the change that just a coat of paint makes for a room.  Not too much longer (after what seemed like forever) I found the rug on Joss&Main.  I knew I wanted yellow as my accent color but it took forever for someone to finally have a yellow rug at my price point.  

Finally replaced the moldy stacked trunks we were using as a side table.  This one is from Target.  


Elephant print from last year's Indie Craft Parade by Dapper Ink, here in Greenville.


Our damaged coffee table (Value City Furniture) converted to chalkboard top by me.

Special thanks to my girl Aly for helping with the arrangement (on the floor) and to my dad for hanging everything.

Myles' toy basket from TJ Maxx

Kyle's birthday present.  A print by the talented graphic designer Leslie Hill, from our former church small group in Louisville, part of a series called Fifty Two Verses.  I originally intended this for our bedroom but thought it would be better for us to have this truth out in the open where we would see it more often.

Disclaimer to all those who happen to believe that I am a domestic goddess with this immaculate living room:  It was immaculate for the duration of Myles' nap, for the snapping of above photos.  Within minutes, this happened, and it has since gone even further downhill.  Sure. Blame it on the baby.  I'm not... he just caused part of it.  I'm a slob.  I have clutter issues and cleaning happens when I go on anxiety induced cleaning sprees.  You should see the state of the dining room... its holding all of the clutter you can't see in this room.  Shuffle shuffle shuffle.  

So what would I do differently?  The rug would never have been bought if I had known it was the loop kind.  Our black cat Remi picks at it constantly.  It only looks nice right now because I cut off all of the places he had picked out.  I guess that is just the gamble you take when buying something like this online.  The solid yellow pillows also were a "Oh! Thats my color!  We need pretty pillows!" purchase.    They are terribly uncomfortable and Myles is systematically picking off the metal dots.  That is mostly all of my regrets... and costly ones.  

I originally planned to put curtains up but no longer think I will.  I think it would be too much trouble with too much furniture in front of them to really get to enjoy the look.  I have left a space open next to the Elephant for another similarly sized frame to go on that wall.  Unfortunately there was no special print for this year's Indie Craft Parade like I was planning to put there so we will see what ends up on that wall.  I am also hoping to pick out a few more smaller versions of the FiftyTwo verses for our hallway once Leslie has finished her project.  

So there we have it!  I hope to share a few more spaces in the coming weeks.  Man that was fun


Friday, March 28, 2014

roombyroom : just open a door

Sometimes easier said than done.  In our house anyway.

I knew several months ago that we would replacing the doorknobs in our house.  They were just plain ugly.  Mismatched, scratched, painted, missing screws.  It was not a pretty sight... but a project that I wasn't planning on anytime soon because I would rather put the money toward things like throw pillows or patio furniture right now.  

This is a little of what I was dealing with:


Did I mention that the guest bathroom didn't lock?

Yeah... maybe it should have been more of a priority.

So then... before Myles was born, I went to get a towel out of the linen closet in the master bathroom.  And the door wouldn't open.  The handle just broke.  For some reason, it had a locking knob... the locking button thing just spun in place.  My brother was in town and with a butter knife and a lot of luck, he managed to get it open... so we took the handle off.  And it stayed off until January.  When I replaced all of the knobs in the house.  

With this.  The Kwikset Cove in Venetian Bronze.  I only found them on Home Depot's website...not in store.  We did not like the bronze options in the store that were in our price range but these were perfect for $12-15 per knob depending on if it locked or not.

so much better right?!
So now our hallway (and other doors in the house) have a change that we just love.  And I'm sure what few guests we get, now appreciate.


The only knob that we didn't replace was the one leading to our carport.  Those are a lot more expensive... and not in the budget.  Oh how I wish I had just dealt with them all at once!

Because one day, we tried to go out that door to go to church.  Remember the linen closet fiasco?  Yeah.  It happened again.  Only this time to a very important door.  We couldn't get out.  So we had to use the front door.  When we got home, we tried the butter knife.  No luck.  I took the doorknob apart.  Should have worked, but the inside locking mechanism WOULD NOT disengage.  


This little bugger was all that stood between us and our normal way out.  So we did the only thing we could do.  Kyle beat the door down.  He pulled the pins out of the hinges and I braced it from falling on the ground while Kyle rammed into it.  

After that, I just had to run to the store again, spend $60 on a new Kwikset Smartkey knob/deadbolt combo.  It was amazingly easy to set the lock to our existing key, and now we can smoothly open the door with our beautiful new bronze knob.  


I did most of this over a few days during Myles' naps... or let him cry for a little bit in the case of the last one... we needed a lock.  Not a project to be intimidated by, and well worth the cost... even if it means waiting to buy the last of my throw pillows or to finish working on the hallway.


Monday, March 3, 2014

room by room : laundry

It has been a really long time since I did a Room by Room post!  And this update is long overdue... we completed it before Myles was born!

When we moved in, we were glad to finally have an actual laundry room!  Our last two apartments only had laundry "closets".  Not only did this house have a laundry ROOM, but it is big.  Like almost the size of Myles' room, big.  Well, maybe not quite that big, but its about 8x11 I think!

Unfortunately I didn't take a whole lot of pictures of it...


Like... this is it.  The only picture from our first walkthrough.  The same beige paint in the entire house, a window to the carport, some crappy cabinets and an awkwardly placed water hookup.  The other side of the room was the same beige, blank walls.

Fast forward several months, and my dad's handiwork...


The outlet for the dryer was inside the cabinet... and dad decided to lower that water hookup.


And he installed some new cabinets that he had built.  And rebuilt the wall that they were attached to.  He also built a folding table for the blank wall that I still haven't shown.

A couple of months later, Kyle's parents painted the room for us during one of their visits... using a paint color my brother picked out for me.

The finished result being this:


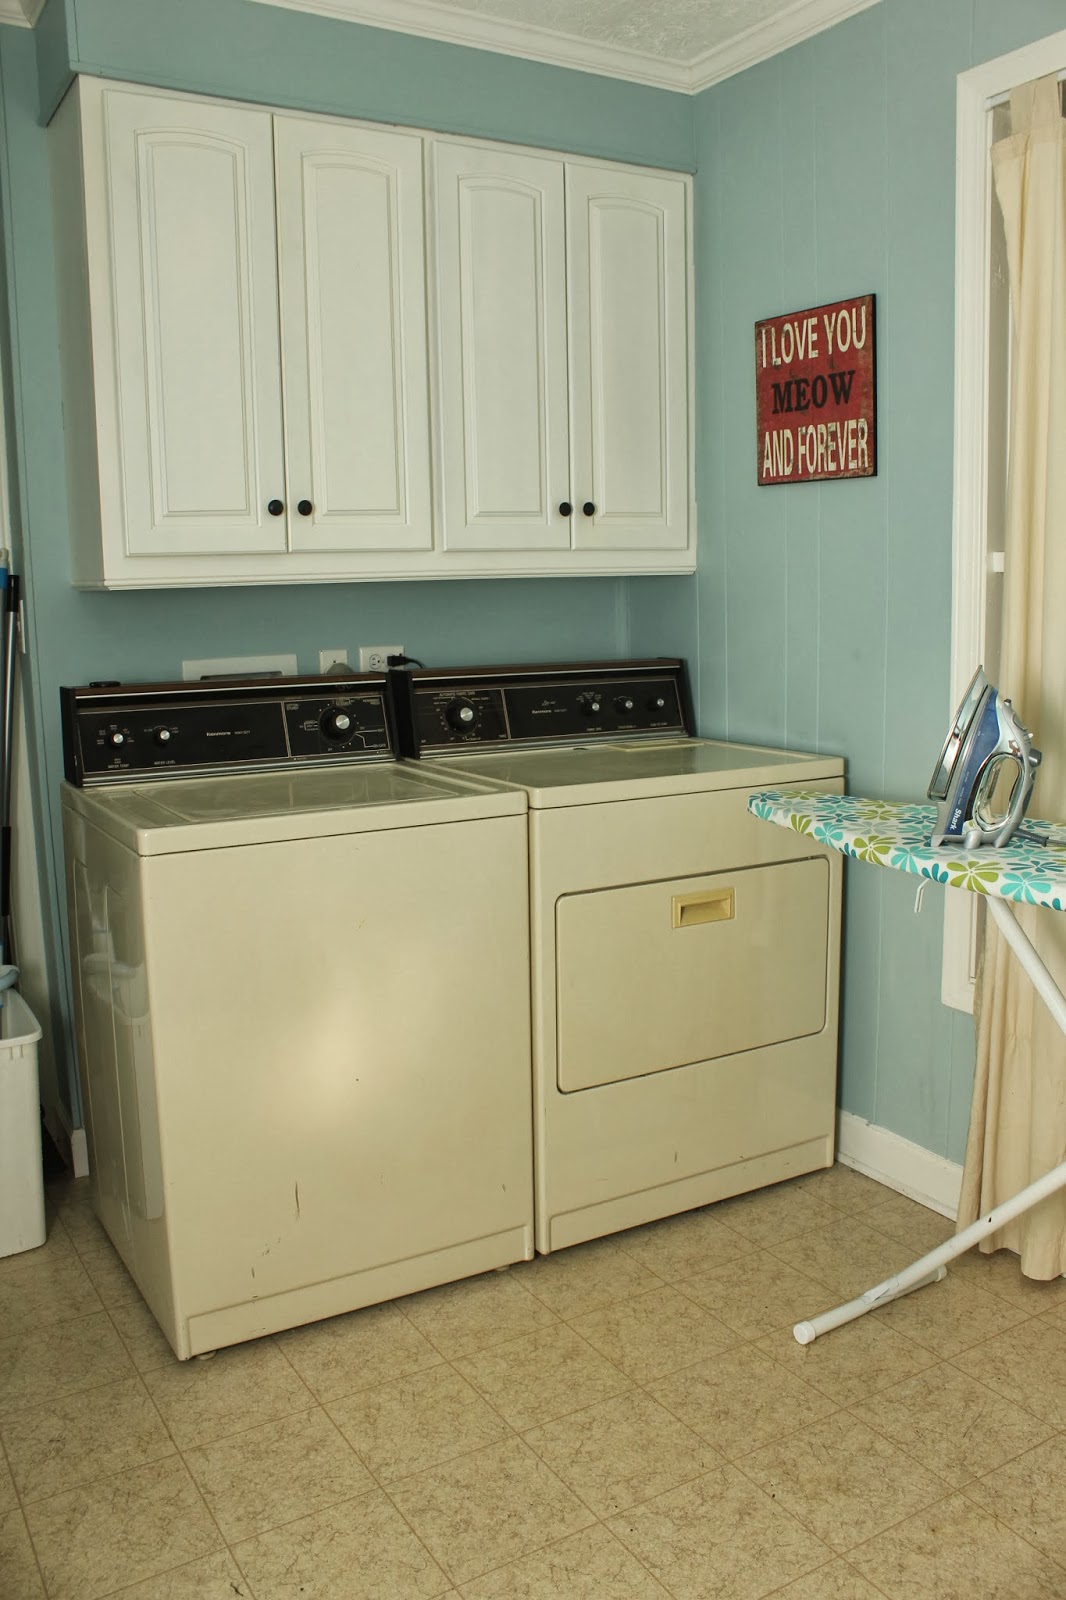
I love how this room turned out.  So much less depressing.  Eventually we will have to get a new washer and drier but for now these which are older than us work just fine.  We have had a couple of floods in this room but that is the fault of the pipes, and not of our ancient machines.  Nothing $200 a call to the plumber couldn't fix.

Thanks to everyone that helped make this room a bit more cheery for me :).

If you are here from Medical Mondays, welcome!  Hope you stop by more often... I know I want to start blogging a bit more frequently now that I am getting used to this whole being a mom thing!

If you want to see some more of the house, here's the links:

kitchen
dining
living
spares
masters
nursery

I hope to get a few more room updates up this month, we have been busy!

Wednesday, October 30, 2013

room by room : a room for Myles

It has taken about 3 months or so to complete but I can finally say that this room is DONE.  I am just tickled with how it turned out.  Originally the plan was just "vintage kid stuff".  And then before our baby showers I realized that was a bit too vague and headed more towards a vintage air plane theme.  

Now normally when I design a room in my head... it completely does not turn out the way I wanted it to.  I'm usually really sad at the end because I had too many ideas and no way to mesh them cohesively.  Or I give up prematurely.  Or I never have an idea, but instead get caught up in the world of Pinterest and do a "project" at a time and then it just looks weird.

Not this time baby.

So the final result... minus the baby.


1. Watercolor painting based on Snoopy and the Red Baron (including the book itself below) by my Aunt Debbie.  So so so excited to have this for Myles!
2.  Cheap bookshelf from Target.  I lined the back panel with some fabric that I found on sale at a local store.  Filled with books, toys, and the bins have things like socks and pacifiers. 
3. Our son's name in photos.  Made by a friend of my aunt whom I used to dog-sit for back in Louisville.  She was also a huge help in organizing everything for me after the babyshowers :) (Thanks Stacy!)
4. Planet Wise wet bag for dirty cloth diapers.  Haven't found a good place for it yet.  The changing table is a little too low to hang it from.

close up of the painting


1.  Faux metal letters I made the past 2 days out of paper mache letters, black paint, and silver spray paint.  (seen on Pinterest somewhere)
2.  The family rocking chair.  My mom rocked us in it, her mom rocked her in it... I had to take it.  Kyle's mom and grandmother made the pillow cushion and a friend of my grandmother's crocheted the blanket.
3.  Antique children's magazines.  My dad built the wooden boxes, I put a burlap backing in them, and they are suspended by furniture tacks pushed into cardboard.  I didn't want to poke holes in them or ruin them with tape.
4.  Simple lamp from Target.  I like the look of the new with the antique furniture.
5.  Antique plant stand (I think) from my parent's garage.  


1.  Sort-of 3D metal airplanes from an old friend-Megan.  I had just realized I had almost no biplanes for my biplane themed room when these showed up in the mail!
2.  Antique chest from a local consignment shop.  My grandmother got it for us when she came to visit a while back.
3.  Basket woven from what looks like old Japanese newspaper.  Found at Hobby Lobby...to be used as a clothes hamper.
4.  The crib.  From BRU.  Chevron sheet from Target, bedskirt handmade by Kyle's mom and grandmother.  Small tag blankie with biplane and his name is also from Megan.
5.  Biplane/cloud mobile.  I made this a while back when I was resting in bed for a week after overdoing things.  Clouds are made from paper, hoop is part of an embroidery hoop, wrapped in twine, with various biplanes I got at the babyshowers.


The mobile, and Myles' friends are waiting for him!


1.  The changing table that I made out of an old hutch bottom.  The doors are hiding the diapers, and wipes are in the drawer.  Spent several days sanding, painting, and sealing that thing.
2.  Shelf was made out of reclaimed wood I found at the Habitat ReStore for $1.
3.  Various old toys/antiques from family and friends based on the original decorating plan.  They still fit in really well with everything else.


So what do you guys think?  Pretty cool huh?  I just realized that I totally never got a picture of the rug that the rocking chair is sitting on.  Maybe one day you will see it... It is cherry red and majorly shag.

I had a lot of fun getting this room together.  Everywhere I look there is something picked or made with love from a friend or family member.  And better yet... none of it is too "baby-ish" so the decor should last him as he grows until we have to move again... or can be converted to slightly more girlish if he ever has to share a room with a little sister :-p.  

How much did I do in the room? Kyle helped hang the shelf and the mobile.  My dad hung the frames and planes on the wall.  I painted the wall (Valspar Sea Salt) completely alone.  Same goes for the blue furniture.  And assembly of the crib and bookshelf.  It was such a fun project and I wouldn't do anything differently!

Tuesday, September 24, 2013

social life and progress.

Last week I had the pleasure of spending time with the residency moms for another play-date.  As I mentioned before, we took their kids to Snow Fest at the local ice rink about 2 miles from my house.  I think they had a lot of fun!  There was bouncing, snow ball throwing, and a train ride!  I can't wait until Myles is able to join the mix, but until then I had fun capturing the festivities :-).


The rest of the afternoon I spent shopping around town for the last few things to be able to actually work on my long list of projects.  I finally found a great $1 piece of reclaimed wood from Habitat's ReStore, so I hit Home Depot for brackets to build a 5ft long shelf on Myles' wall for about $7.  While over that way, a local fabric store was having a 50% off sale, so I also found some fabric to line the back of the bookcase I am using to store baby things in Myles' closet.  Grabbing staples from Target allowed me to also finish some display frames for another decoration idea for the baby room.  Now that the shelf is hung, I will be able to finally decorate a bit this week!


It feels really good to get that stuff off of my list.  Kyle's parents came in this weekend as well so they were able to knock off another thing from the list for me!  My laundry room is no longer beige!  I hope to post more on that later.  We had a busy weekend and I am whooped.  I'm really starting to realize just how much I HAVE to slow down.. my body just can't take my normal pace anymore.  

So how about you?  Did you get any projects completed over the weekend?  It feels great doesn't it?!

Monday, September 16, 2013

weekend replay

Not much for a weekend replay... Kyle was on night float this weekend, but now is back to his normal day schedule.  I made a few more mental plans for projects this weekend, and got a few more thank you notes written.  I also managed to send Kyle to work with some cupcakes on Saturday.


The highlight of my weekend was working on this thing.  Look around... a lot changed over the weekend.  I tried cleaning things up a bit.  Made my writing space larger so my photos can be loaded in a larger size when I want them to be.  There are now pages found up above here to take the place of the jumbled mess that used to be the right side...with additional information.  There will be pics of the cats eventually...when I can catch the two of them together on something other than the brown couch that one of them blends into.  All in all...it is a work in progress but I feel pretty good about it so far.  

So what do you think?  Any and all criticism/comments welcome on the new layout.  Any advice?  Something you would like to see?

Thanks to Anne-inresidence for her amateur blogging tips, I mostly used parts 1 (the basics) and 2 (helpful resources) to get me through some rough spots.  I also relied heavily on SomethingSwanky for her incredible how-to on designing your own background using PicMonkey.